
So, I finished the Clothespin bag at the very last minute last night with some generous help from my talented roommate whose sewing skills vastly out-strip mine. You can see some pictures of the Clothespin bag in its formative stages here and here.
I predicted that I would finish this project with time to spare, but I hadn’t taken into account the time required for finishing. I’m looking forward to the projects coming up since there’s no sewing involved.
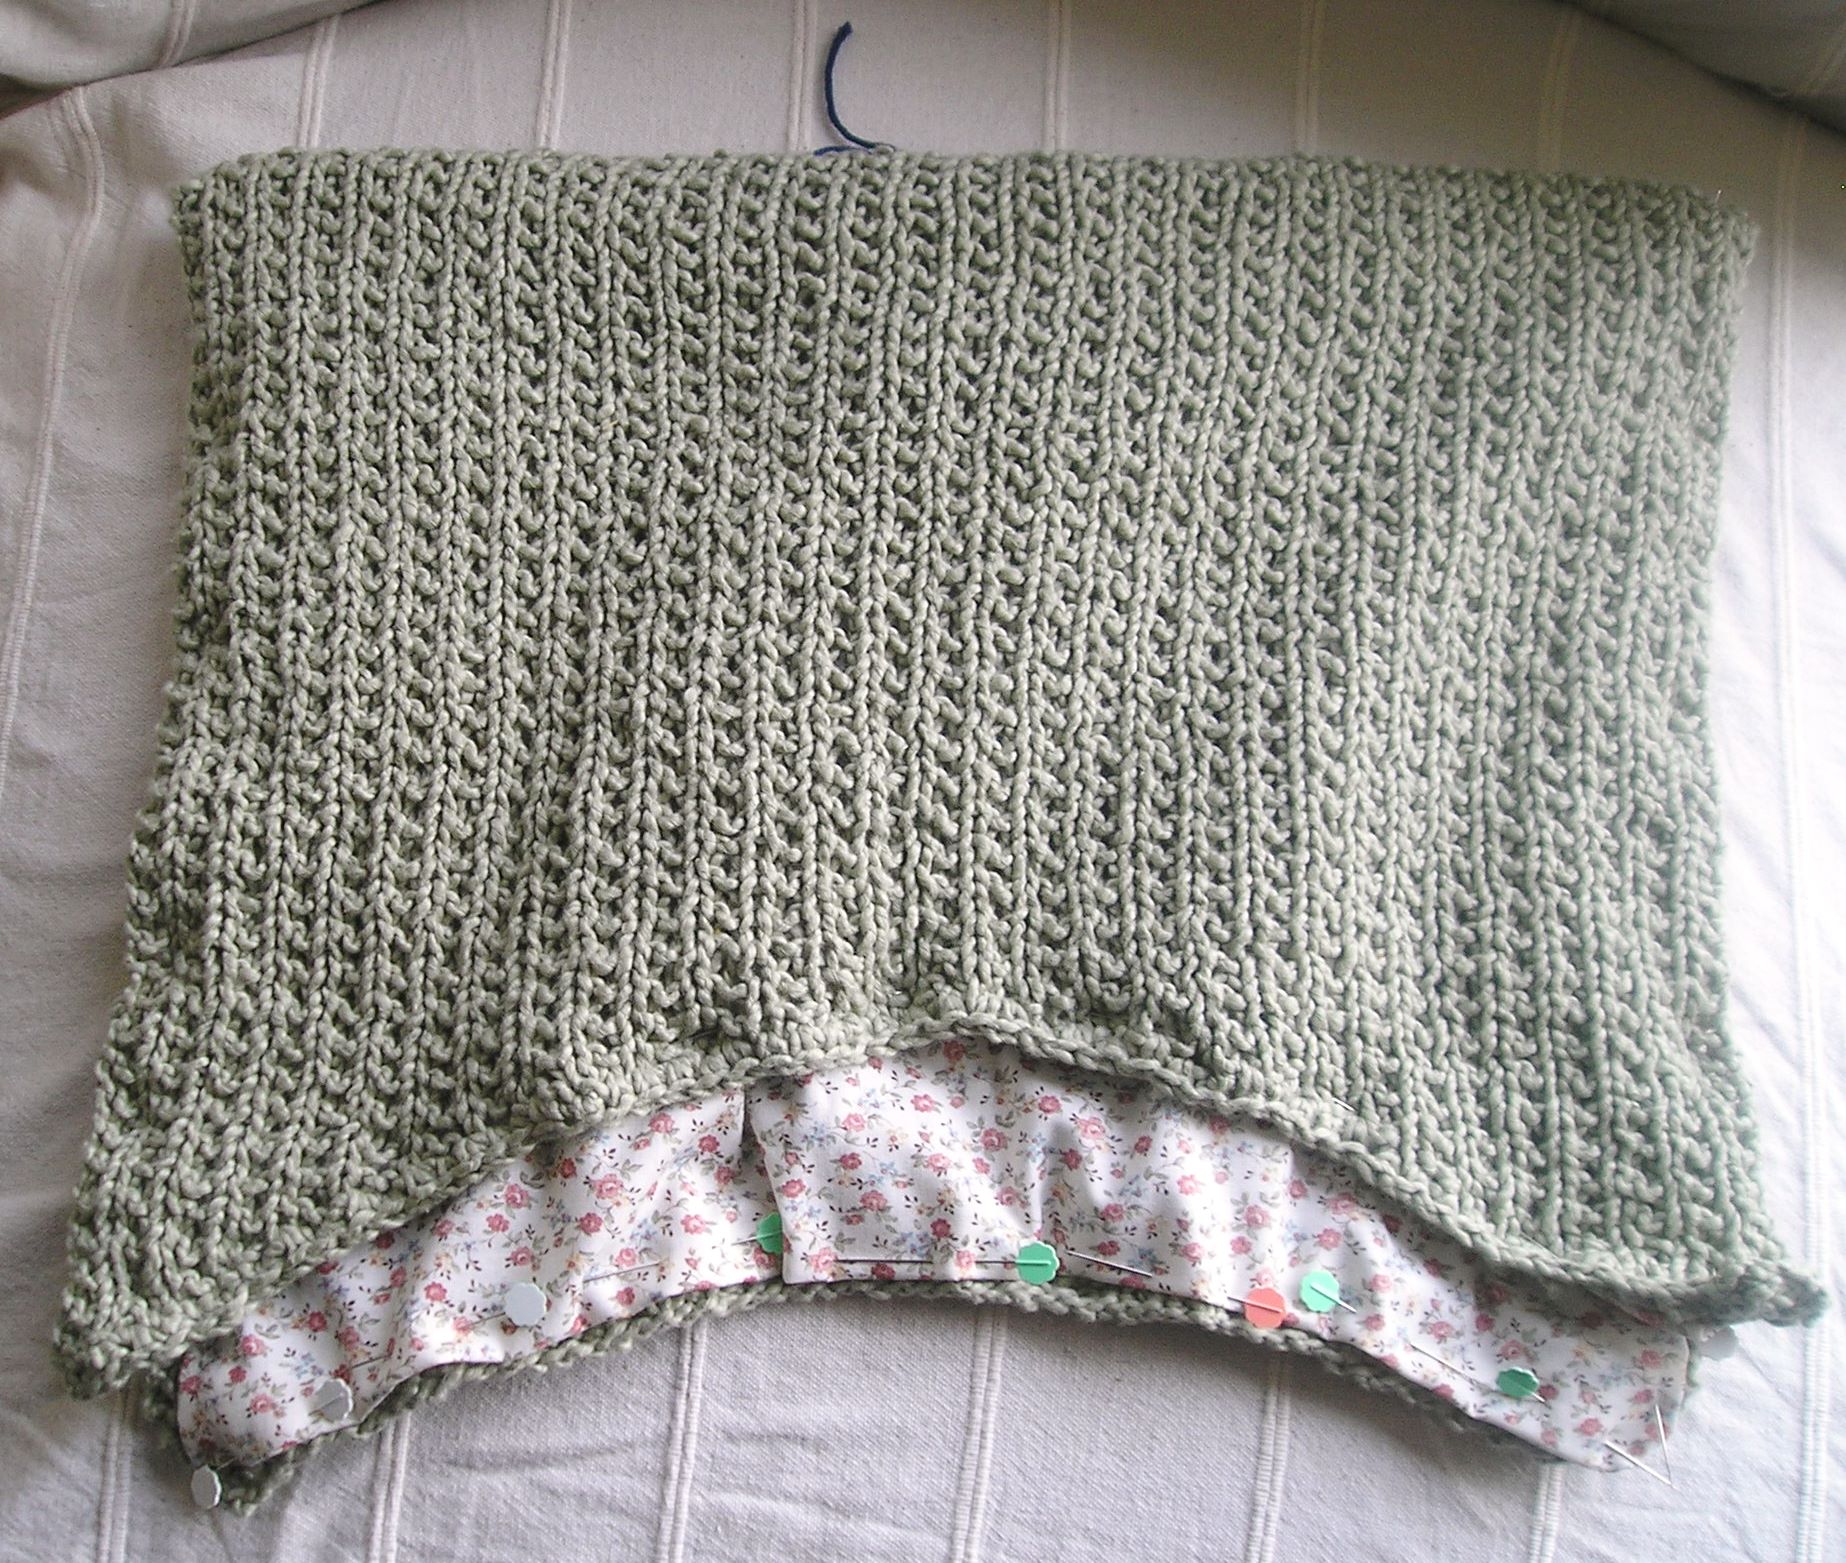
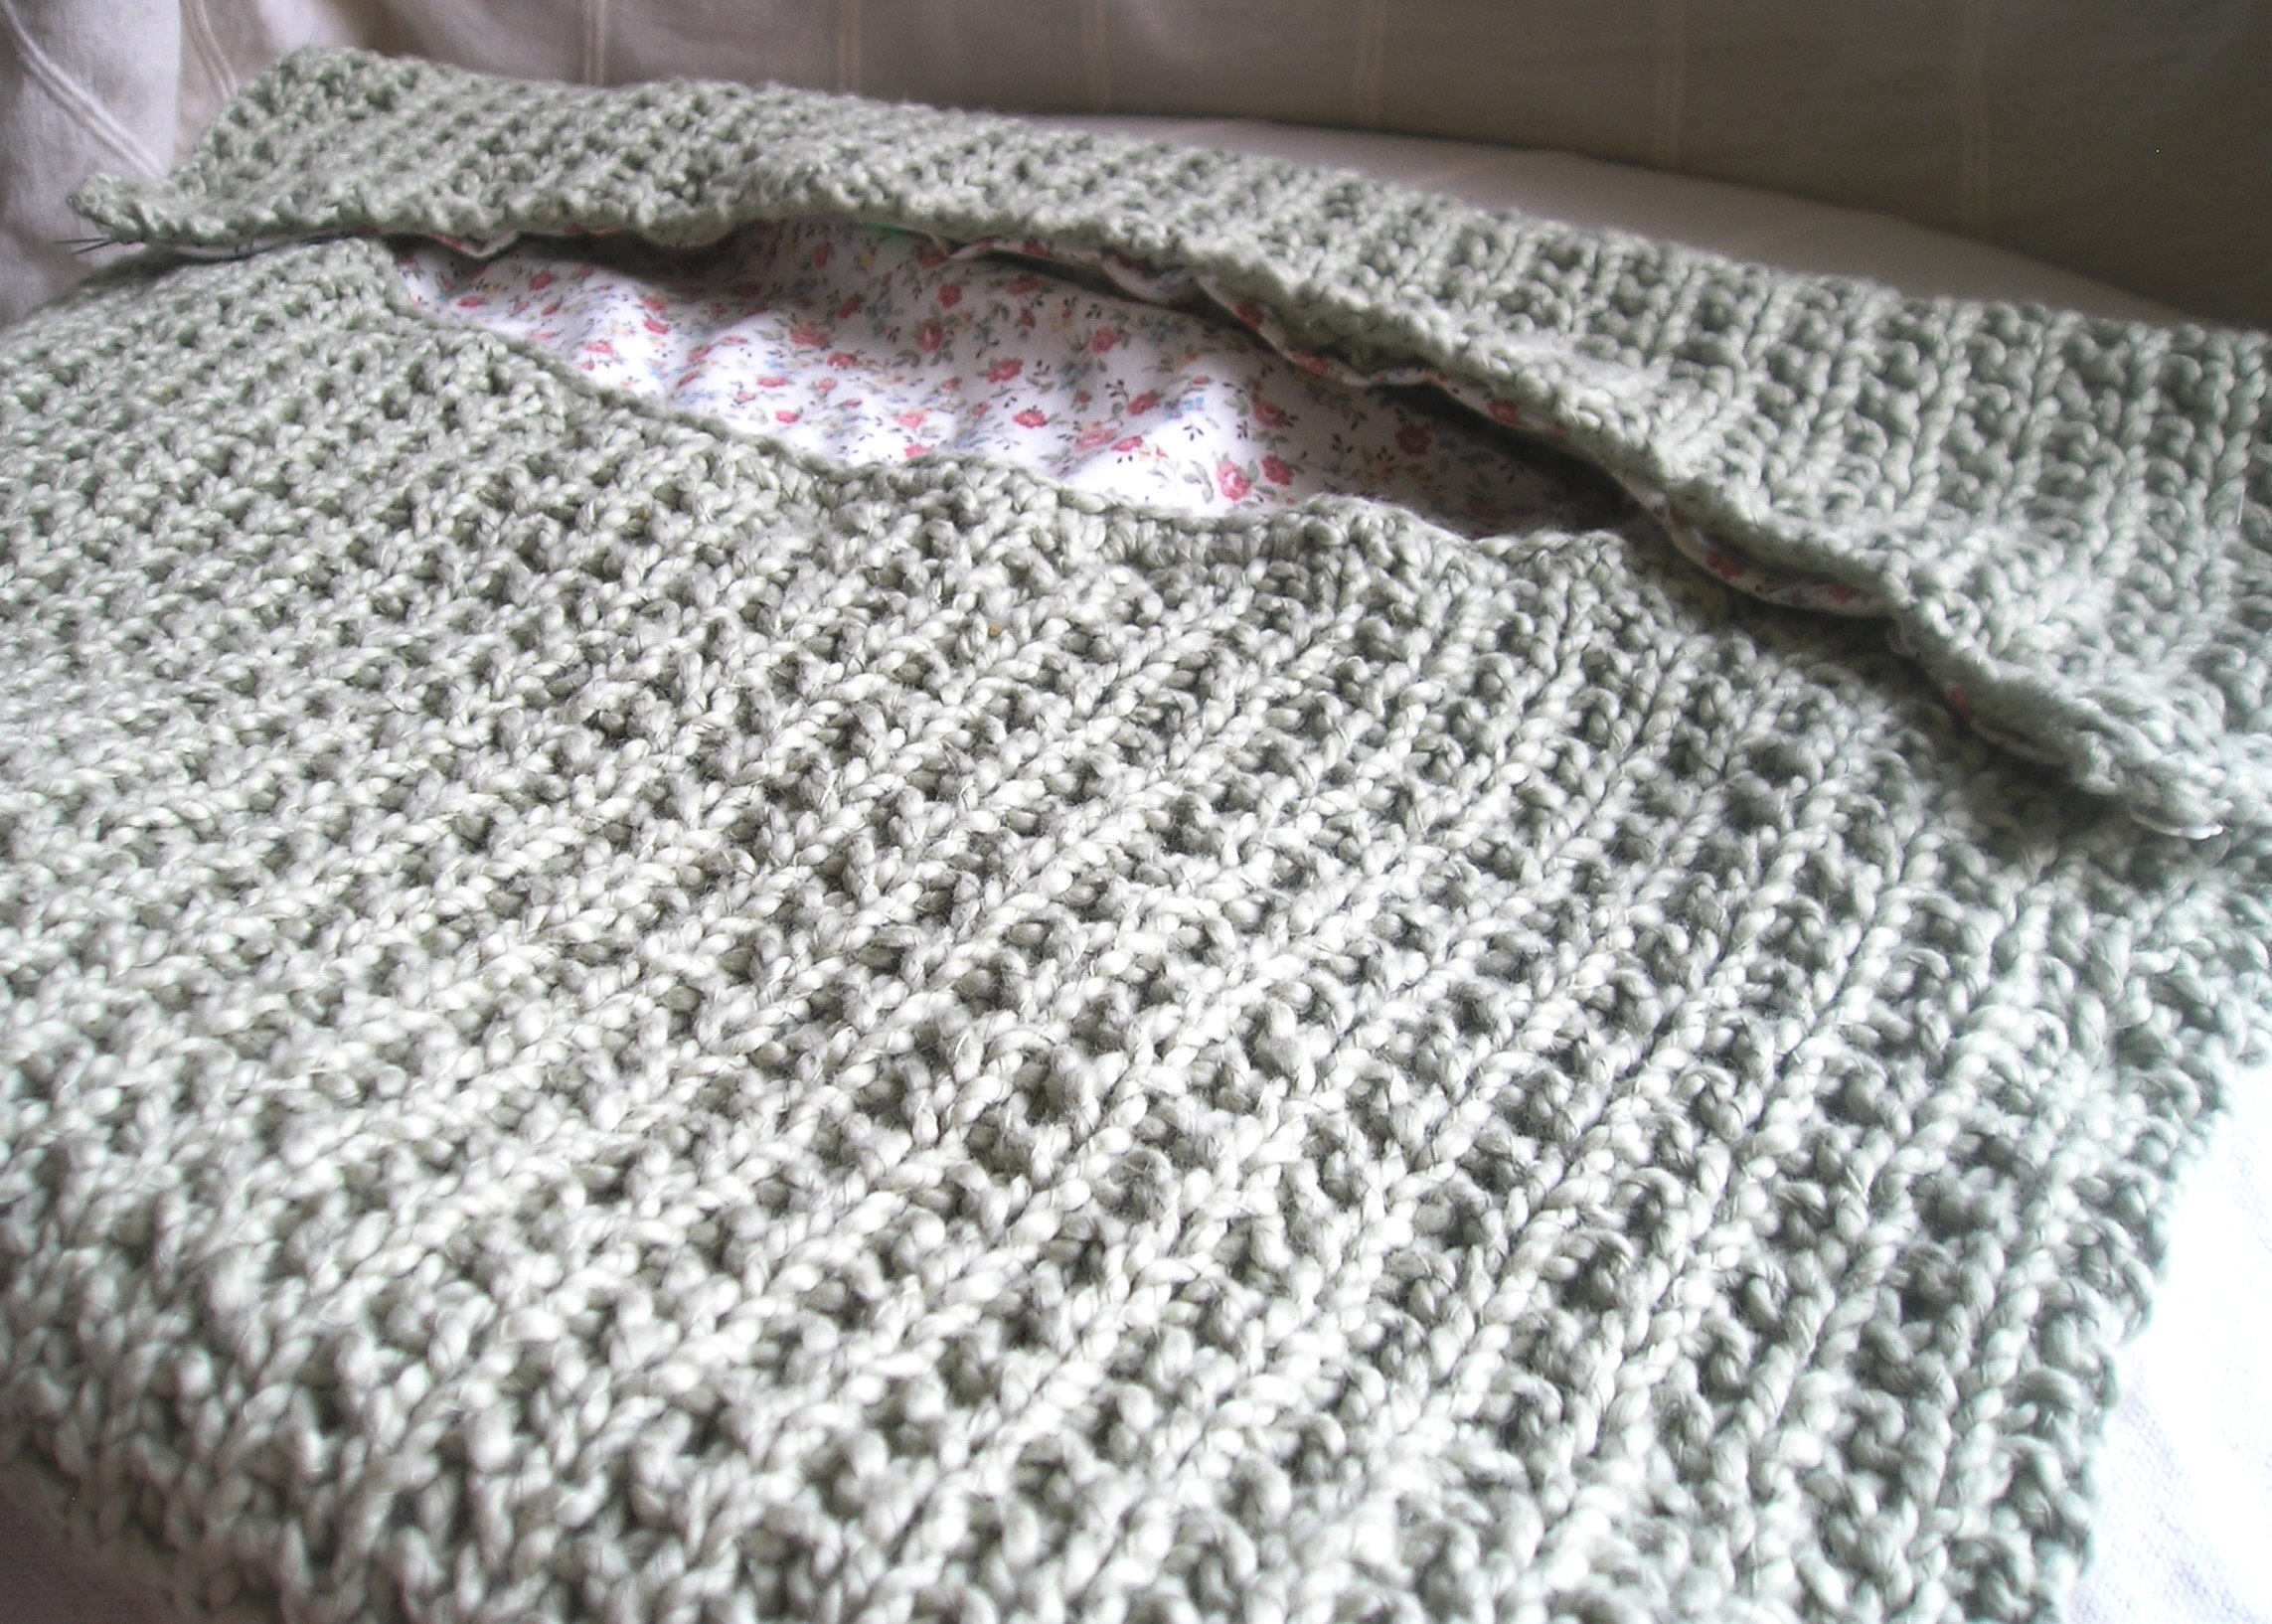
The above picture is the completed version with the lining sewn in, the sides crocheted together, and the hanger placed inside. Crocheting the knitted edges together went quite quickly and, in my humble opinion, actually looks better than sewing the edges together on the machine. I also worked a single crochet stitch along the curved edges of the “envelope” (as Debbie Bliss describes it), which I think will give the edges a bit more strength.
With the hanger, I resorted to good old-fashioned elbow grease and a sharp aluminum knitting needle which I used to open up a hole in the fabric and force the hanger hook through. Bliss was (not atypically) maddeningly vague on how exactly to do this part of the finishing.
Sadly, since I live in an apartment, and have no backyard, I don’t have a clothesline from which to hang my new bag. I’ve decided to use it to hold my vast collection of plastic grocery bags awaiting recycling — not a very glamorous use for beautiful handmade bag, but it will look pretty hanging in my utility closet and maybe that will make recycling a happier chore.