MYOKB: “Striped Baby Hat” Finished!

Debbie Bliss "Striped Baby Hat" Finished
Debbie Bliss “Striped Baby Hat” Finished

After last week’s endless seed stitch adventure, this week’s foray into My Year of Knitting Blissfully (MYOKB) has been a piece of cake. Easy peasy, lemon squeezy, as they say.

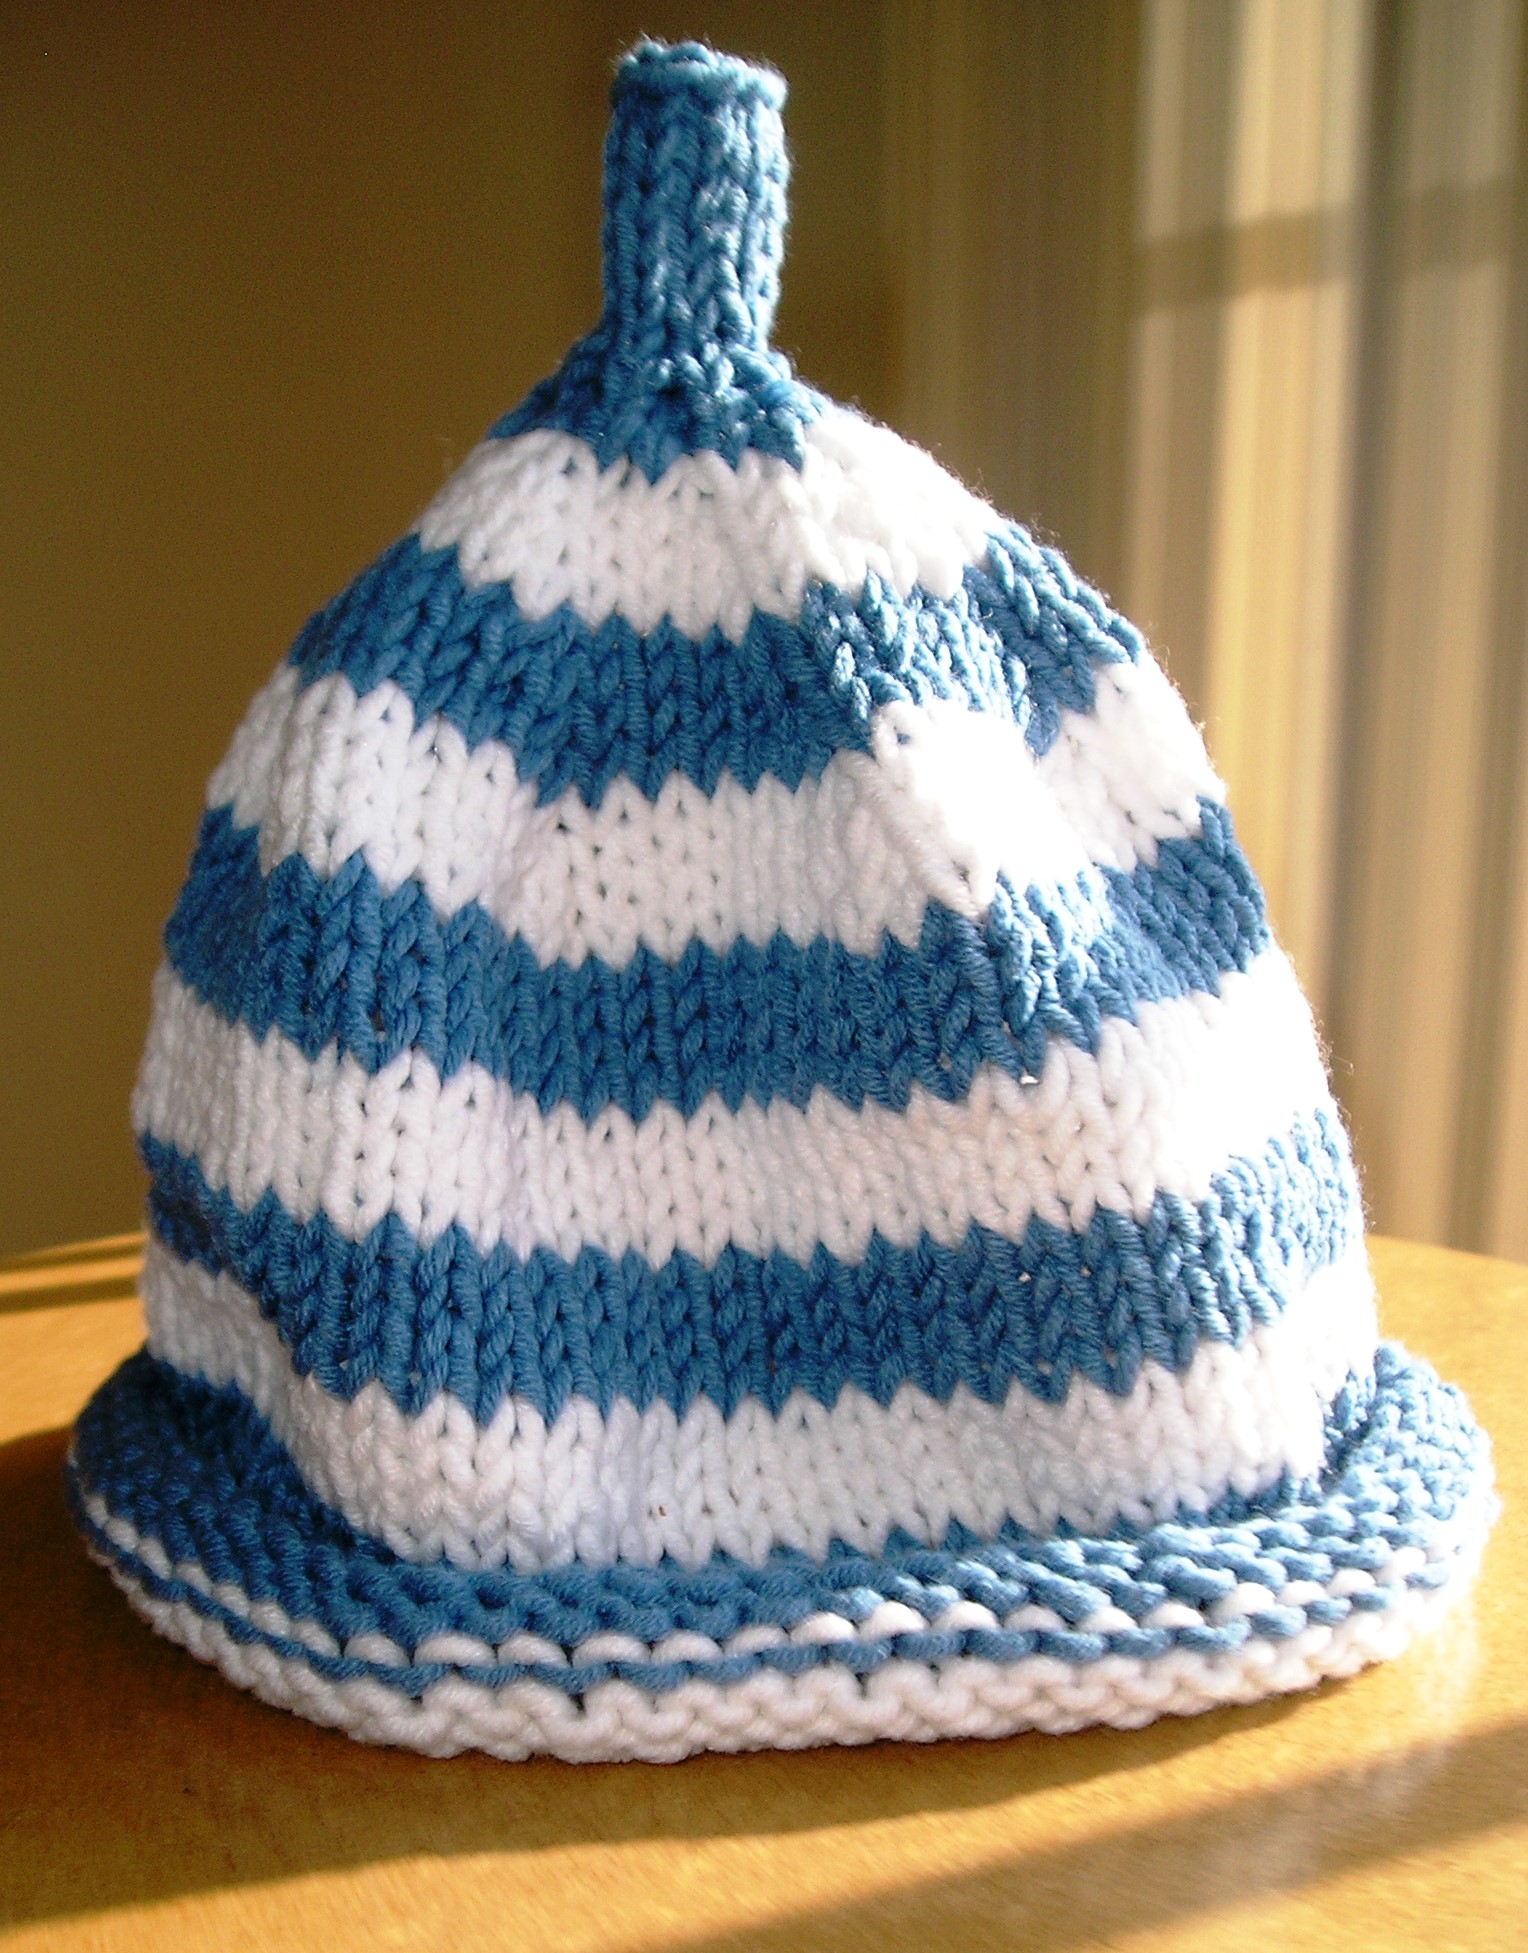
This week’s project (finished in one evening, as predicted) is the “Striped Baby Hat” on page 68, which I worked using GGH Goa in white and Suss Snuggle in a lovely shade of French blue. Although the labels describe these yarns as having slightly different fiber contents (slightly different percentages of cotton and acrylic), I strongly suspect, actually, that these two yarns are identical to each other and are just marketed under different names and brands. This is a common practice in the yarn world. Anyway, they worked together swimmingly and the gauge match was perfect. Gauge isn’t super-important with a project like this one, of course. My philosophy is that, eventually, the baby’s head will fit the hat.

"Striped Baby Hat" with seam and jogless jog showing, sort of
“Striped Baby Hat” with seam and jogless jog showing, sort of

I’ve made many baby hats similar to this one in the past, so the only real trick I remastered was the “jogless jog,” a technique to help you avoid unsightly “hitches in your stitches” (which is waaaay better than hitches in your britches, trust me) when you work stripes in the round. Basically the technique involves knitting the first round of any new color change as usual, and then knitting the first stitch of the previous round together with the first stitch of the second round. You can see it more eloquently described by the inimitable Meg Swanson here.

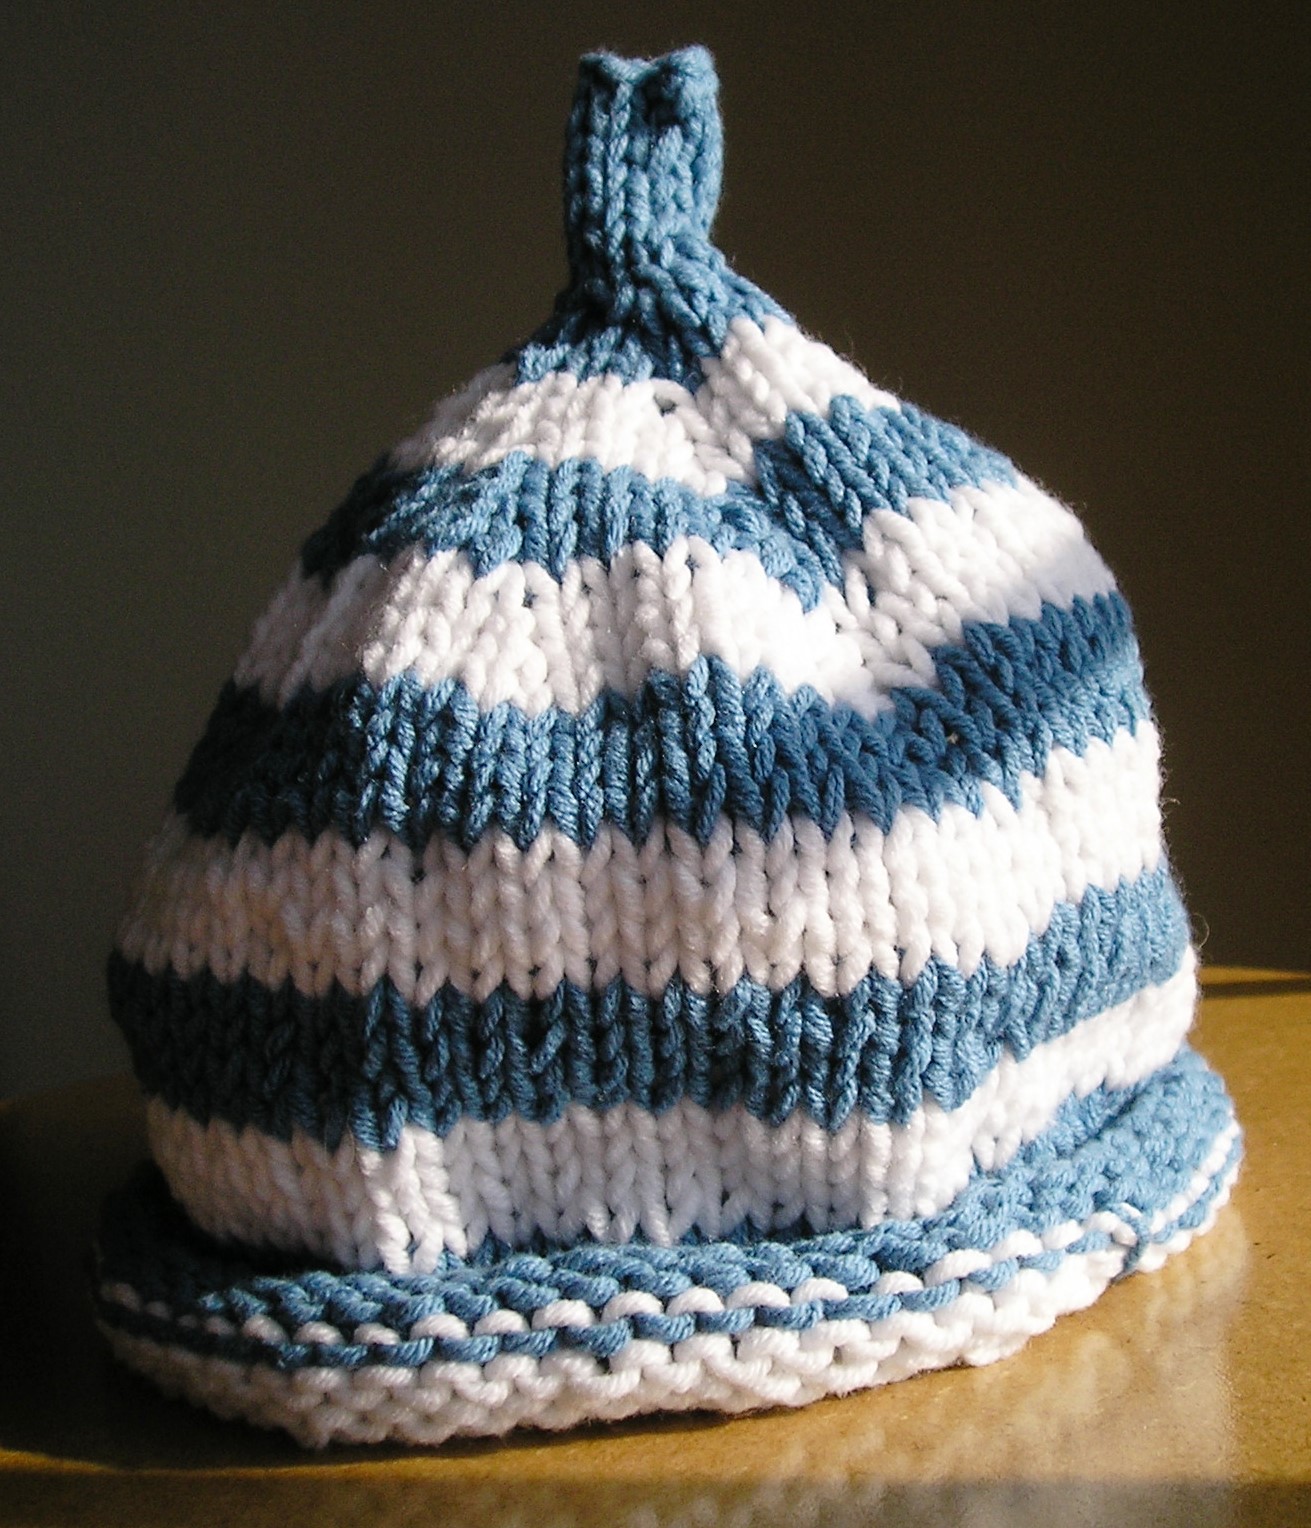
And you can (kind of) see the “jogless jog” in action if you look at the right side of this second picture of the “Striped Baby Hat” ; follow the seam up from the little “bump” in the bottom hem on the far right. Apologies for not taking a better picture.

MYOKB: Baby Cardigan Finished!

Baby Cardigan finished!

A three-needle bind-off here. A chocolate grosgrain ribbon there. A little seaming. And the Baby Cardigan is finished at last! Phew! It looks beautiful and since my little niece, Lauren Amelia, was born the week before last, I’m glad that I will have an even more beautiful baby to give it to.

This bright fuchsia pink is not my usual color choice, but when I imagined this cardigan, the only ribbon choice I could envision was chocolate grosgrain (1/4″ wide). If I was one of those people who got paid to think of names for color combinations, I would call this one “Raspberry Truffle.”

"Baby Cardigan," Close up with Chocolate Grosgrain Ribbon
“Baby Cardigan,” Close up with Chocolate Grosgrain Ribbon

Since this project took me so long to finish, I’m glad that this week’s is a simple baby hat. I can probably knock that out in one night.

"Baby Cardigan" finished, with ribbon, and photographed at a rakish angle
“Baby Cardigan” finished, with ribbon, and photographed at a rakish angle

MYOKB: Baby Cardigan in (slow) Progress

Front Half of Baby Cardigan in Progress

And here you have the first half of the front of the “Baby Cardigan” from p. 38 of Debbie Bliss’s A Knitter’s Year. And it’s taken me almost all week to complete. And this is only one-third of the final project… Yikes.

On the plus side — this is going to be GORGEOUS when it’s finished. This bright raspberry color (Debbie Bliss Baby Cashmerino color #340042, sadly discontinued now) is delicious, and it’s made even more delicious in my eyes by the fact that I got in on mega-sale at Little Knits so this whole project is costing my under $10. It’s also making a dent in my stash.

On the minus side — this project is taking me f-o-r-e-v-e-r. Just how long is Debbie Bliss’s week anyway? Basically, the problem is seed stitch itself. Even though it’s one of my favorite stitches in terms of the final result (and it’s reversible!), it’s a slow stitch to work since you have to move the yarn between the front and back of the needles with every stitch.

Maybe it’s time to investigate quicker ways to work seed stitch.

MYOKB: Clothespin Bag nears the finish line!

hespin Bag Almost Finished
Clothespin Bag with lining pinned to knitting

At last the knitting is finished, and the finishing begins!

The original pattern calls for the knitted part to be machine-sewn together when the lining is attached, but machine-sewing the lining to the knitted piece and then crocheting the knitted sides together seemed so much easier. Crocheting is so much easier and faster, and allows me to really control the seaming. The navy blue cotton tie you see at the top of the fold marks the center where the hook of the hanger will go through.

My friend Deborah, who is something of an expert seamstress, helped me with the lining and the machine sewing. I must admit, sewing machines still intimidate me a little bit. The fabric is some old calico-style print I bought on sale years ago — so long ago, in fact, that I can’t remember where or when. It matches well with the sage color of the yarn though.

Clothespin Bag Fabric Lining Close-up
Close-up of the fabric lining of the Clothespin Bag

Here’s the bag folded into the proper shape (note the fancy camera angle I learned in my recent “how to photograph knitting” class at Wildfiber in Santa Monica):

Clothspin Bag Almost Finished
Clothespin Bag, folded into proper shape, photographed at a rakish angle

And here’s the same bag photograph straight-on (as I would have done it before I took this class):

Clothspin Bag Almost Finished
Clothespin Bag, folded into proper shape, photographed straight-on

As soon as the lining is sewn on, I can begin using single crochet (size H hook) to bind the sides together. I have chosen a short, padded wooden hanger to hang the Clothespin Bag from. It should look quite sweet when done.